I’ve held on to this series of posts, unpublished, for the last few months and this week’s #genchat on Twitter inspired me to finally start publishing them!
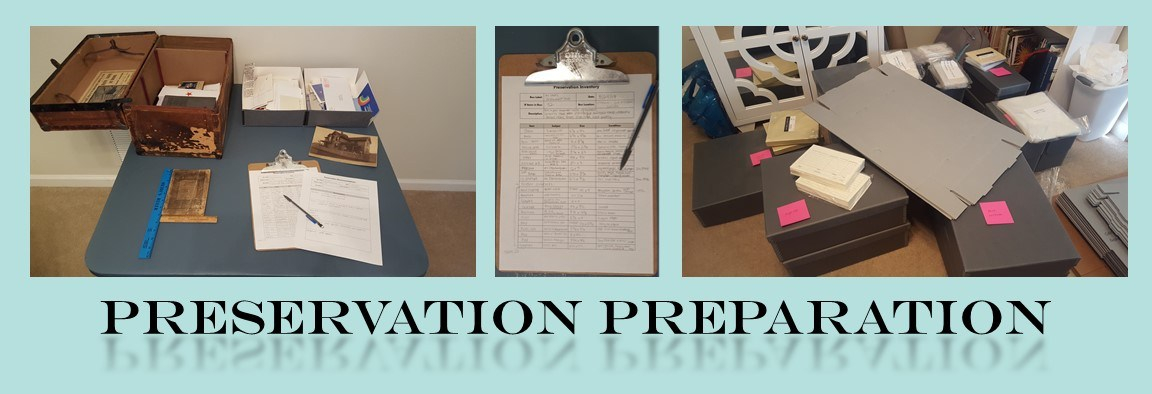
Objective: To preserve my family photos, documents and artifacts.
Mission: To determine exactly what needed preserving, what supplies were required to accomplish the preservation project and to be able to order all the supplies at the same time.
Prerequisites: This blog post is not about how to preserve family photos and documents, just about the process of analyzing your collection to make the final purchase. I recommend doing some research on the types of containers and materials recommended for use in preserving paper items before beginning a project like this.
One of my favorite topics related to genealogy is preservation. As someone who has been trained in archives and now manages a library’s archival collections, I’m passionate about properly preserving my family items using professional grade materials and products. Over the last few years I have attended lots of presentations and read lots of blogs on the topic of preservation for genealogists. These tend to do a great job covering how to safely handle fragile items and what materials to use for storage, but I was still left wondering: how do I know what to buy and how much? Archival supplies are not cheap and neither is shipping them! Boxes and sleeves come in all shapes and sizes, along with many other products specially designed for unique items. If I was going to buy supplies to process the family archive, I wanted to get it all in one go and know that I had everything I needed, nothing more and nothing less.
In the summer of 2017 I decided to tackle the problem head on. I needed a system for figuring out exactly what I had and translate that to exactly what supplies I would need. It was a daunting task, as I had at least 20 boxes of family “stuff” that needed to be accounted for. When I started looking for forms online that might assist me, I was disappointed with what I found. All the downloadable forms I encountered were geared towards capturing metadata, names, dates, and other context of items, whereas my main concern at this stage was physical items, their size, condition, and quantity.
So I created a series of my own forms and put them to work, painstakingly analyzing every box item by item over several months to create an inventory of my collection. Then I spent just as many hours poring over the lists attempting to compile a single supply order and finally a couple attempts at actually making the purchase. Over the next few weeks I’ll walk you through my experience and what I learned from it.
Step 1: Home Survey
Before you just start opening boxes and digging through them, it’s important to have a big-picture view of your project. Although it was pretty easy for me to collect all the boxes of family stuff in a single room of my house and store them there, not everyone will have the space to do so. You might have family items tucked in nooks and crannies all over the house. Therefore, the first step is to go from room to room and survey your space. The idea is to create a list of all the containers you will need to take inventory of to ensure each is accounted for when the project is complete. This will also help if you need to plan pacing of your inventory in advance, you can determine how many containers you will need to inventory per day or per week to meet your personal deadline.
First, you will need some kind of form to use for your survey. I prefer using paper and a clip board, because it’s easier to walk around the house and quickly jot down notes, but use technology if you prefer it. I also decided it wasn’t worth my time to transcribe the filled forms into a spreadsheet, but again, that is a personal choice. I made a simple table on Microsoft Word. My form has 4 columns with nice big rows for writing notes:
- Location (room where the box is stored, be more specific if necessary)
- Box Label (identifying title on the box – I carry around a Sharpie and number boxes that are not distinctly labeled already)
- Notes (anything else you need to remember about the box later – size, condition, ownership, etc.)
- Check Box (check off the box when you have completed the individual box inventory)
Download the form here: Home Survey (PDF)
Take your form, whether print or digital, and walk around your entire house looking for family items that might need to be considered in your preservation project. Visit each room and take note of all relevant boxes, but also write down loose items or items on display that need to be included. I even took one copy of the form to my parents’ house and noted a few pictures on the walls and other heirlooms that I wanted to purchase storage materials for. You may also wish to take pictures during this time so you can later remember what some of the boxes and items look like, just be sure to associate the box label with the photo so you know what is in the picture.
Once your survey is complete, you should have a much better idea of the scope of your project and where everything in your house is stored. If you’ve never given it much thought, this is also a good time to assess the environment in each room: temperature, humidity, proximity to light or water sources, etc. Update your notes if you decide to relocate any containers. Keep the survey forms in a safe place, you will need to reference them again throughout the process. Next week we’ll talk about setting up a workspace for the box inventory!
Have you found a good way to tackle preservation of a large family archive? Share your tips and tricks in the comments!
