I forgot I had written this post a while ago, but I finally remembered and finished it this week. It’s a long one, so don’t say I didn’t warn you!

Over my spring break from graduate school in March 2017, I visited the National Archives in Washington, DC. With my mother in tow, I navigated the process for pulling and scanning six Civil War pension files at the Innovation Hub. Before leaving home I tried to learn everything I could about researching at NARA so I could be prepared for the process, but I still felt like I didn’t know enough about what to expect. I thought it would be helpful for me to walk through the experience in a blog post.
What is The Hub?
 If you haven’t heard of The Innovation Hub (or “The Hub”), it’s a new feature offered by NARA in the last few years that mutually benefits the archives and the researcher. Researchers go home with free high quality digital copies of the files they want to see, and NARA receives free labor to create high quality digital copies of records to put online. The room offers several flatbed and overhead scanners for digitizing files. In lieu of the traditional Reading Room, researchers may transfer files to The Hub and scan them there according to the specifications set by NARA. Although The Hub is limited only to pension files, compiled military service records, bounty land records, and carded medical records that have not already been digitized, it offers a lot of value to genealogists visiting NARA!
 The catch is that you have to scan the front and back of every single page in the entire file, which can take a long time, even for short files. If you were in the Reading Room, you could browse the file and only photocopy the pages of interest to you. However, I believe that the value of digitizing these records for the online catalog and the high-quality color images you end up with outweigh the time spent, if you can spare an entire day for scanning. Since my visit, I have sent catalog links to files I scanned to cousins without having to transfer the large files over email. I have also been able to view the files in the catalog and begin transcribing them for future researchers. It is so rewarding to know that my hours of work can be useful others in the future. I hope that more people will take advantage of The Hub!
Examples of files I digitized: https://catalog.archives.gov/search?q=ellen%20heidi%20anderson (See how convenient it is for me to just search my own name and bring up all the files I scanned??)
Before leaving home
 Before leaving for the archives it is very helpful to know exactly which record(s) you intend to request. If you are interested in Civil War pension files, like I was, I would recommend searching the following places from home to find the index to the records you want as well as making sure that the records you want haven’t been digitized already!
Search by name only and cross reference by the widow’s name, state, death date, etc. to ensure you have the correct file. If you located an index card I recommend printing them out and bringing them with you, this will really speed up the record request process. If a file has already been digitized, even if it is on a paid website, you will not be allowed to view or scan the file. The NARA Finding Aid room has access to paid websites like Ancestry and Fold3, but you are better off finding a library that has access to these sites before traveling to DC.
- Ancestry.com Civil War Pension File Index
- Fold3.com Civil War Pension Files Index & Digitized files, some have been scanned
- NARA Online Catalog (put in the soldier’s name and “pension” to see what comes up)
Once you know what you want from NARA it’s time to pack. The less stuff you take inside the better because you have to go though security and there are a lot of restrictions on what you can bring in the reading room. Make sure to bring:
- Money if you plan to make copies
- Driver’s license or other photo ID
- Quarter for the locker
- 1-2 Flashdrives
- Print outs of the index cards for records
I also brought headphones to listen to an audiobook while I scanned and dressed in layers for all temperatures.
It is also a good idea to review NARA’s advice for researchers: Plan Your Research Visit
If you plan to spend multiple days at the archives it might be useful to get a hotel nearby. While there are a lot of very pricey hotels in the vicinity, we were able to snag a room under $200 per night at the Hotel Harrington a few blocks away. It was an easy walk and there are plenty of restaurants around the area. Not the most luxurious hotel, but for a genealogist on a budget it fit the bill. I found travel websites showed the hotel having no availability but the hotel’s website had plenty of rooms available.

Arriving

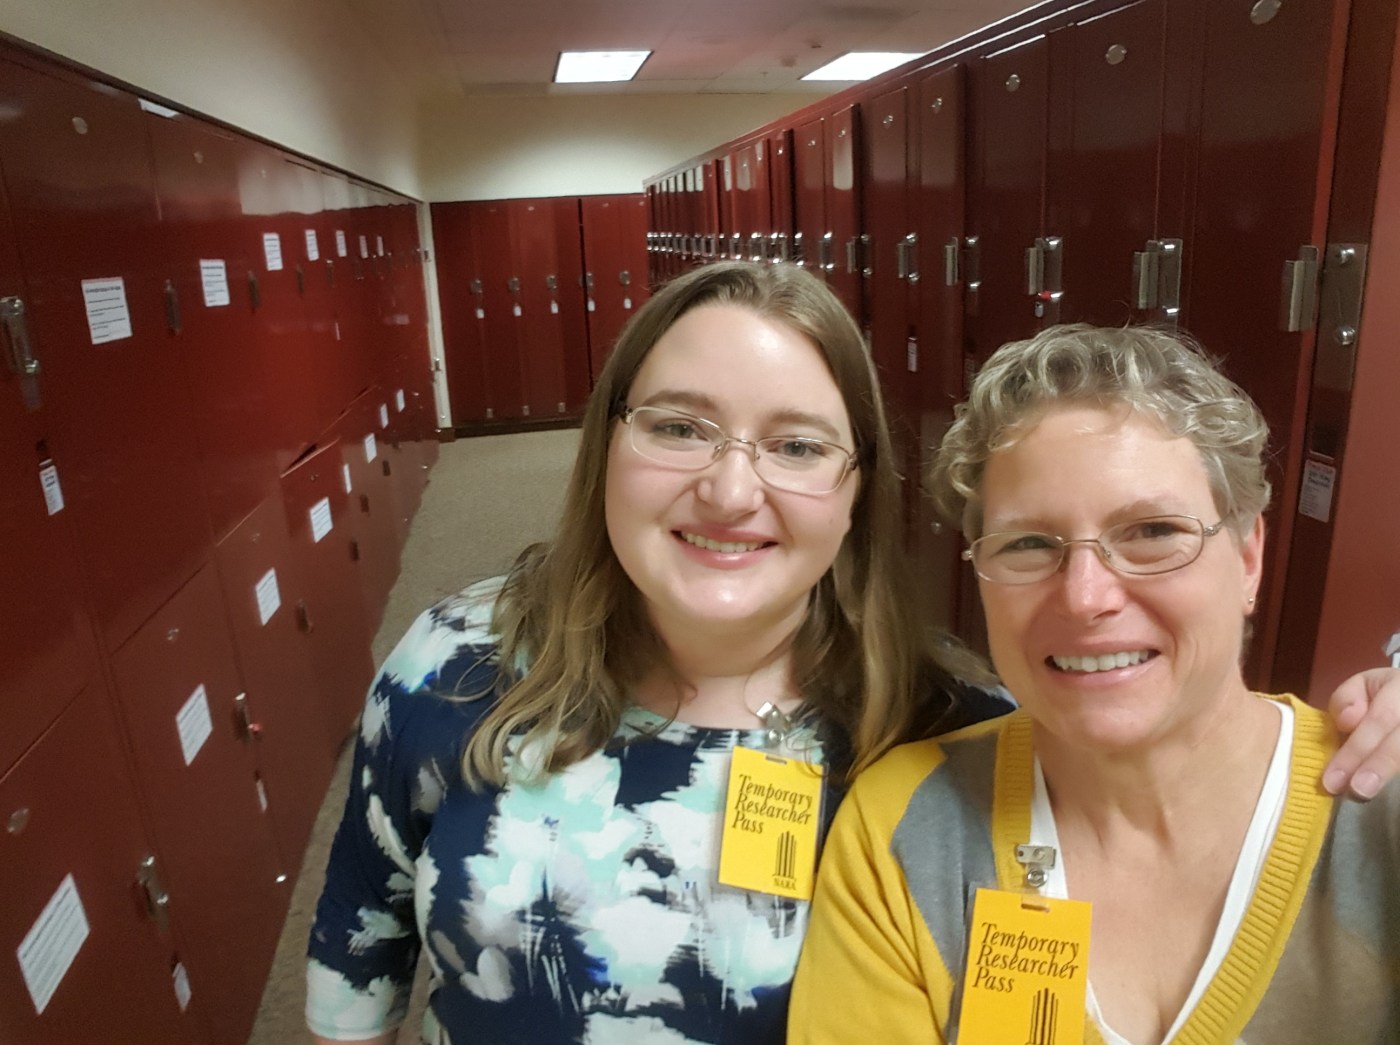
When you arrive at the National Archives you will want to enter from the Pennsylvania Avenue side of the building, opposite from the tourist entrance facing the Mall. The door is labeled Researcher Entrance. Go through security before approaching the desk. The security guard at the desk will sign you in to the building with your driver’s license and hand you a yellow badge identifying you as a “Temporary Researcher.” This must be displayed on your clothing at all times.
Behind the desk is a set of glass doors to the Finding Aid Room. There is a reference desk in the center flanked by reference materials and computers for accessing the catalog. To the left of the Finding Aid room is the researcher card office, the hall leading to the restrooms and lockers, and the microfilm room. On the opposite side of the Finding Aid Room is the Innovation Hub and a door leading to consultation rooms.

Tell the person at the desk you need your first researcher card. They will direct you to computer stations to complete the orientation PowerPoint presentation. You just click through the slides to read about handling records. Then you can continue through the doors to obtain a researcher card with your photo on it. Now is also the time to visit the lockers. Drop off anything that won’t be allowed in the Reading Room (bags, coats, pens, etc.). The lockers require a quarter deposit but you’ll get it back at the end of the day.
Requesting Records
Once you have stowed your belongings, head back out to the Finding Aid Room and swipe your new researcher card at the reference desk to “check-in” to the room for the day. If you didn’t search and print, photograph, or jot down the index cards in advance you can use the computers to access Ancestry, Fold3 and the NARA Catalog to do so now. There are usually 1-2 volunteer genealogists on hand to help you, as well as 1-2 reference staff to answer questions.
The desk staff can help you fill out the records request form correctly, which is easy if you printed the images of the index cards before you arrived. When you’re finished, the forms go in a special box just inside the door labeled “Microfilm” (yes, even if you’re pulling pensions, which aren’t microfilmed!). Everything piles up in the box until the official pull times, the first pull time is 10:00am. You definitely want to be in that group, which is why it’s important to have searched the indexes in advance. We arrived at the front door at 9:00am on the dot and by the time we went through all these steps it was 9:50am! (Note: The hours and pull times have changed since our visit, so check the website for updated information.)
 Now you have to sit and wait. Records are delivered to the Reading Room on the second floor as soon as they are ready, but there is no system for notifying you when your records arrive there. They estimate 30 minutes to an hour so you just have to wait and guess when to go upstairs. Don’t go upstairs too early because the Reading Room staff don’t like you to stand around there with nothing to do. We sat on the couches downstairs until around 10:30am before going back out to the lobby and taking the elevator to the second floor. You have to swipe your researcher card at the security desk just inside the door to “check in,” then proceed to the reference desk. We stood around awkwardly in the busy but silent Reading Room until our records arrived around 10:45am.
We explained to the reference staff at the desk that we wanted to scan our records in The Hub and one of the women from the desk walked us and the files down to the scanning room, which is back on the main floor and is connected to the Finding Aid Room that you were just in a few minutes ago. Yup, you had to go upstairs and back downstairs, and you haven’t even gotten your hands on a file yet! You “check in” at the security desk once more, and the records are handed off to The Hub staff who will walk you through the scanning procedures.
 Scanning
No matter whether you are in the Reading Room or The Hub, you can only have one folder out at a time, which means you can only open and scan one pension file at a time. The staff will keep the rest of the files at the front of the room and you can switch them out as you finish them. You begin by “checking out” the file by signing the request slip that you submitted earlier to say you received the file.
When manipulating a file, it is essential that all the pages stay in their original order and original condition, so take care when handling them. The staff will assign you a scanner to work at, show you the procedure, and give you a plastic bracket to line up the pages. It’s simple to use, especially if you are familiar with typical scanner software. You just line up the page, remove the bracket, preview the scan, scan the page and repeat the process for both sides of every document, unless the back is completely blank (stamps, names, numbers, etc. on the back of documents need to be scanned!).

Most pension files will include pages of various types and sizes. Many have groups of pages that were glued together by the clerks at the top or corner (paperclips weren’t invented until 1899 and the modern stapler wasn’t popularized until the 1940s). The rule of thumb is that you can’t create creases that weren’t there originally. If there is an existing crease in the document you can fold it back to scan the pages underneath but if there is no crease you will need to give it to the room monitors to scan on the overhead scanners. This is also true for any documents of unusual size that won’t fit on the flatbed scanner.

This is going to take a while, so I recommend you prepare some audio entertainment on your phone. Perhaps download your favorite genealogy podcast, an audiobook, or some music. My mother and I spend a day and a half at NARA and in a total of 7 hours scanning we managed to just barely finish 6 files of varying sizes. We scanned a total of 551 images. Individual files ranged from 33 images to 152 images. With two people scanning at the same time that’s an average of almost 2.5 hours per file.
Leaving
 If you want to take a break at any point you can do so, although it is certainly easiest to do when you are between files. Just let the room monitor know and they’ll give you a cover to protect the files you are working on. You can leave things in your locker when you leave the building, you’ll just have to give your yellow badge to the desk and pick up the same badge number when you return. And you will have to go through security screening on the way out to ensure you aren’t trying to sneak out with any precious documents. There are some good lunch options directly across from the Researcher Entrance, as well as in the surrounding blocks.
When you finish for the day the room monitor at the Hub will ask you how you want to be credited for your work in the online catalog (yes, they’ll put your name with the files you scanned!) The room monitor can help you save all your files to your flash drive, although you can also ask to put them on a CD. Now you’re done! You can head home and in a couple weeks look for your files waiting for you in the online catalog! If you sign up for a Citizen Archivist account, you can even add searchable transcriptions of the files to the website for others to discover.
Examples of various pages from the six files we scanned:


I hope everyone gets a chance to experience researching at NARA and especially to take advantage of the Innovation Hub! Have you been to NARA before or are you planning a trip soon? I’d love to hear about it in the comments!

This is terrific. Exactly describes the experience of visiting NARA. Thank you for posting this. I hope you will approve of my sharing it with attribution to my cousins.
Thank you so much for sharing. That was a wonderful overview